Nutritious, Easy & Cheesy Baked Tortellini
Looking for an easy, freezer-meal friendly dinner that the whole family will love? Then this is it!

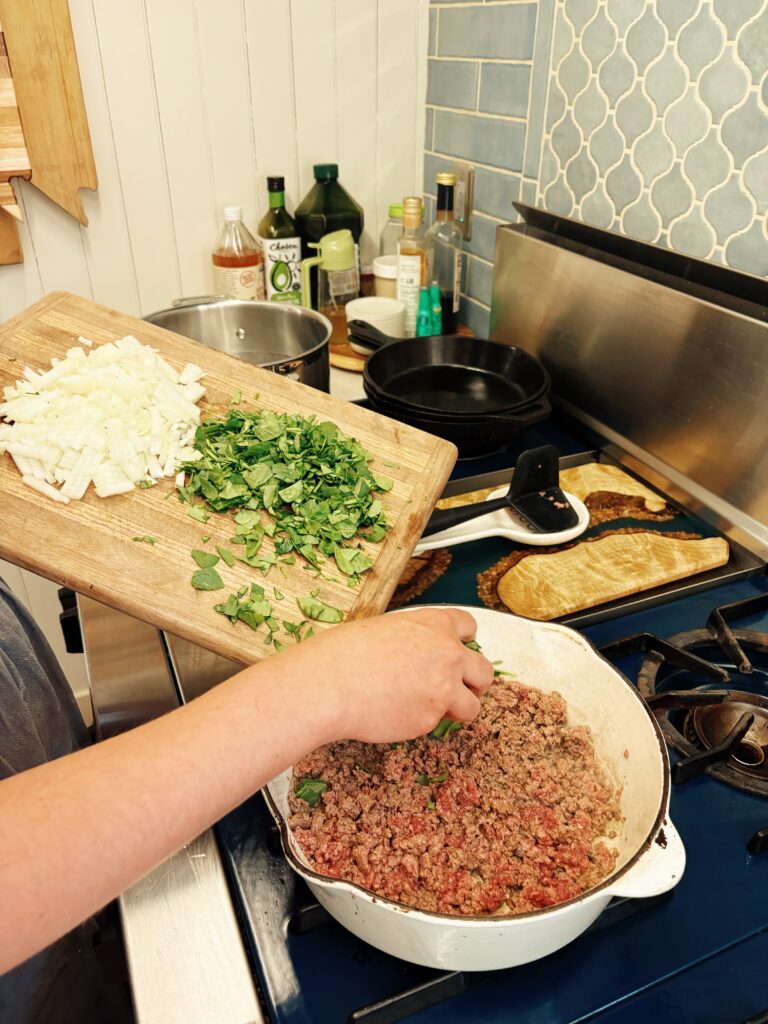
With its simplicity and ease of keeping the ingredients always on hand, this is one of my GO-TO freezer meals. My family’s favorite pasta is tortellini, but we don’t make it all that often. So when they see me prepping it and ask what we are having for dinner, this easy cheesy baked tortellini is a big win. I also am usually able to sneak in a few extra ingredients in here, like sautéed spinach and this organ complex that I use, to make it extra packed with nutrients, which is always a bonus with littles.
This Italian inspired dish is great for any night of the week or for feeding a large group. The recipe is simple enough to follow and easy enough to double or triple. We usually bring this dish with us on hunting trips where we reheat it up in our camp chef oven box and serve with caesar salad and sourdough garlic bread. Its a nice break from hot dogs and hamburgers and its already prepped and ready to go!
I make this dish with whatever kind of meat we have on hand, usually ground beef, elk, venison, or Italian sausage. I treat wild game like I do beef, since we cook with grass-fed beef, they are very similar in regards to being lean. If we didn’t add enough fat to the wild game when we processed it, then I will add some fat to the meat when cooking so it doesn’t stick to the cast iron pan— usually olive oil, avocado oil, butter, or lard.
When I make this meal, I usually try to follow the rule of “one for now, one for later”. Meaning, that if I am already making this casserole to eat tonight, I make another one to put in the freezer. That’s usually my motto for every freezer meal I prep. It makes my efforts in the kitchen that night doubled, without any more work!
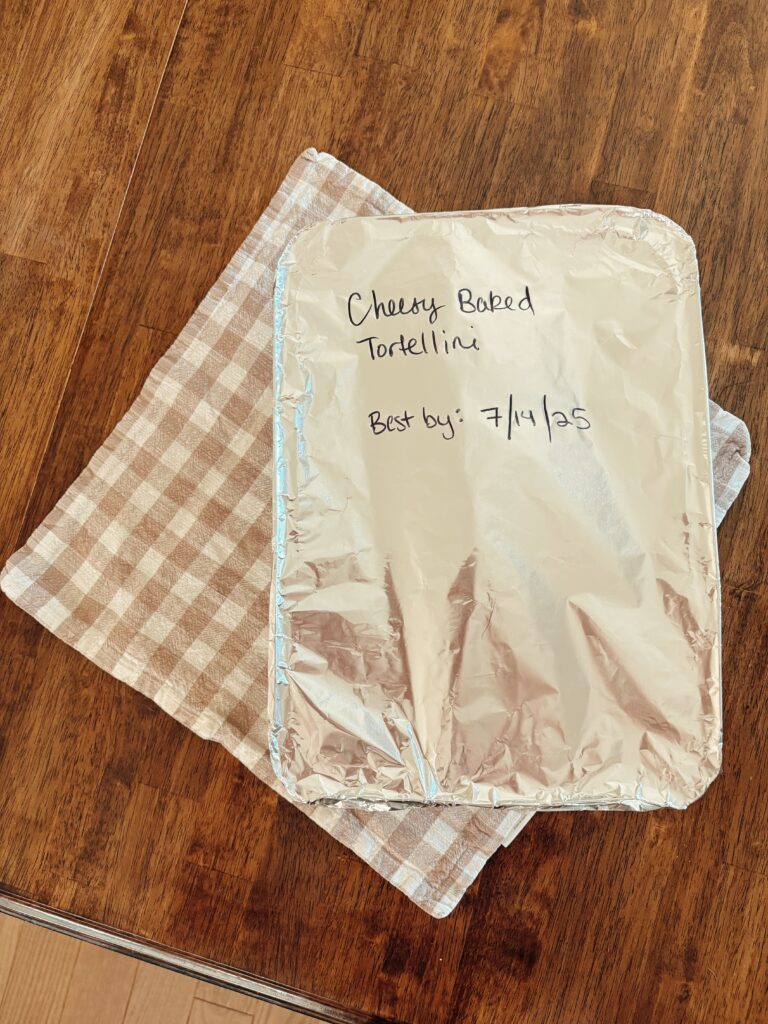
I’ve also recently changed the way that I date my freezer meals. Instead of putting the date I made it, I now put the ‘best by’ date. It seems easier for me to keep track of knowing when to eat it by, versus knowing when I made it and having to do the math on the spot. Most prepped things you freeze should be eaten within 3 months anyways, and this simple switch has proven more effective for me in my kitchen! I’m wondering why it took me so long to do this in the first place…
Why you will love this recipe:
- It’s the MOST freezer friendly! Prep it and keep it for up to 3 months in your freezer. A great idea for a trip, an event, or just an evening with your family.
- This meal is yummy! This will not only become a staple in your household, but is sure to be a crowd pleaser wherever you take it.
- You have the option to make this meal packed with extra nutrients if you choose to add ingredients like sautéed spinach, organ complex, and any other vegetables to your liking. Have extra zucchini on hand from your garden? Toss it in. Love mushrooms? They pair well with this. The options are endless!
Ingredients

Ground Meat: I used grass-fed ground beef in this recipe.
Pasta Sauce: I tend to buy pasta sauce in bulk from Costco. Their sizes vary depending on type but anywhere from a 24-32 oz jar will work.
Yellow Onion
Cream Cheese
Tortellini: The choice of filling in your tortellini is up to you! Three cheese seems to be the most common.
Spinach
Organ Complex: I LOVE Mamoosh Co. organ complex! Find it here.
Shredded Mozzarella: I have come to love the task of shredding my cheese. In my opinion, it tastes so much better than store bought shredded.
Shredded Parmesan
Seasonings: Salt, Pepper, Italian Seasoning. Check out these spice containers I use for my drawer.
How to Make Cheesy Tortellini

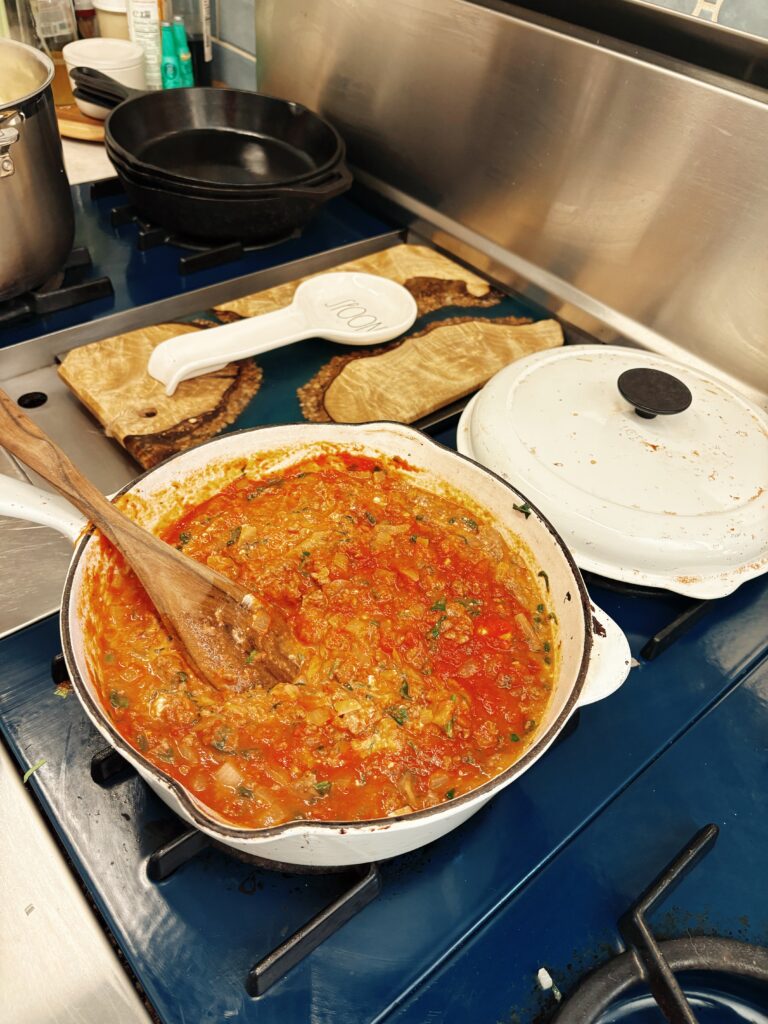
* If sauce seems a little too thick, you can add 1/2 cup to 1 cup of water to thin.
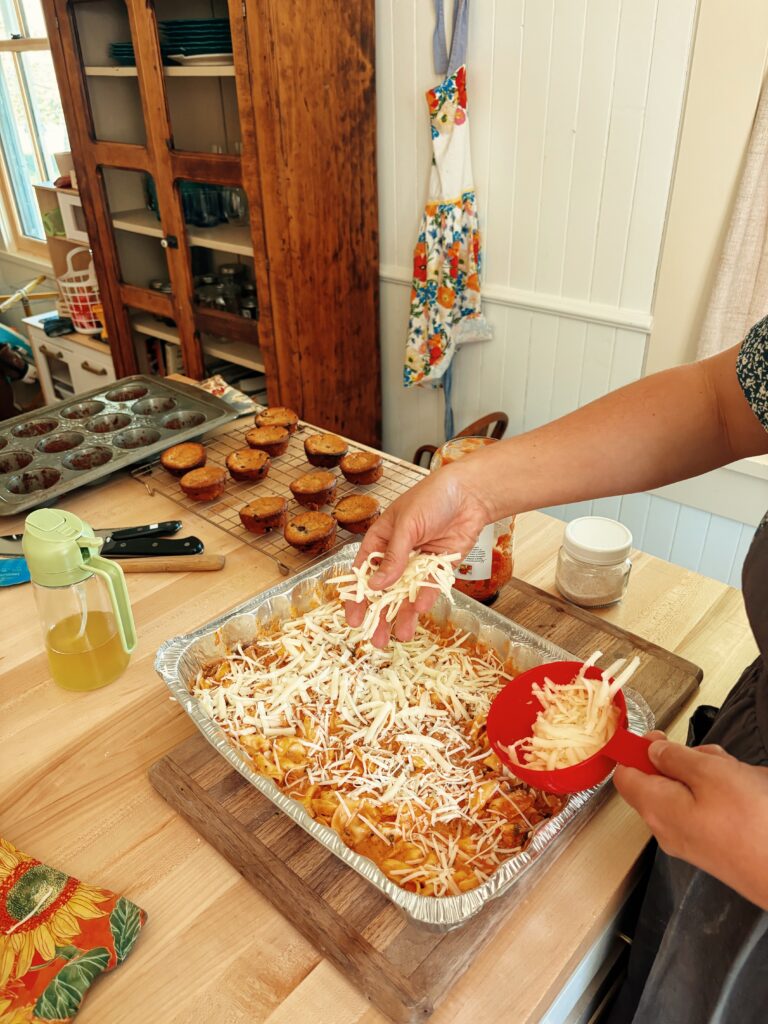
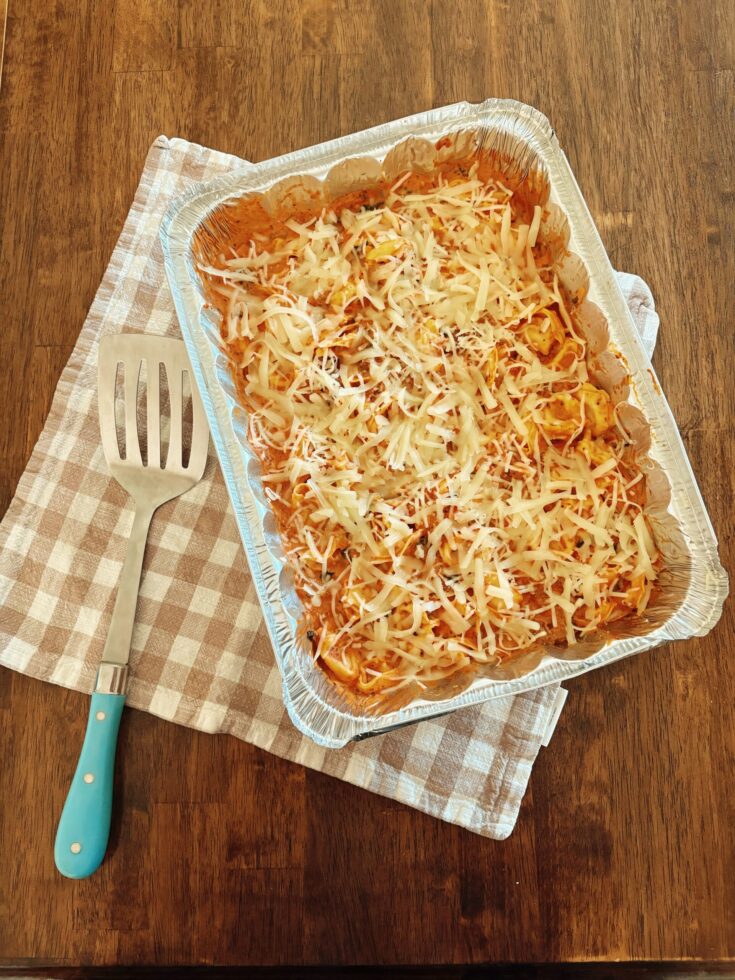
Add sauce and meat mixture to pan. Gently toss in cooked tortellini into the pan. Fold together gently. Top with shredded mozzarella and parmesan.

TIPS !
– Use any type of ground meat that you already have.
– I usually buy multiple bags of frozen tortellini at a time so they are readily available in my freezer when I want to make this.
– Add additional vegetables depending on the season you’re in. I sometimes like to put in mushrooms, sun dried tomatoes, squash, etc.
Recipe FAQs
Can you freeze this meal?
Yes! I first started making this to exclusively freeze and eat for later. I gift this to new parents, to pull out for lunch when we have nothing else, or to heat up for dinner when we have unexpected company staying. Its good fresh and its good from frozen. This is one of my most made freezer meals at home.
Do you use frozen or refrigerated tortellini?
I have used it all. From frozen, refrigerated, and even shelf stable dried tortellini, they all cook the same and give the same end result: cooked tortellini! It’s up to your preference. I normally keep frozen tortellini handy in the freezer.
Can you use different sized aluminum pans?
Yes! Normally I use a 9×13 if its staying at home in my freezer. But for our hunting trips, I divvy the dish up into 4 smaller pans, like 8×8, I that fit better into ice chests and also fit in our camp chef oven box and heat faster than the larger pan.
Cheesy Baked Tortellini
A nutritious, easy, and cheesy baked tortellini recipe that the whole family will love. Plus, it is freezer friendly!
Ingredients
- 1 lb ground meat
- 1 24-32 oz jar of pasta sauce
- 1 diced yellow onion
- 1 block of cream cheese
- 1 20 oz bag of tortellini
- 2 cups chopped spinach (optional)
- 1 tsp organ complex (optional)
- 2 tbsp Italian seasoning
- 1/2 tsp garlic
- salt and pepper to taste
- 1 cup shredded mozzarella
- 1/2 cup shredded parmesan
- 1/2-1 cup water (optional)
Instructions
- If baking now, preheat oven to 350 F.
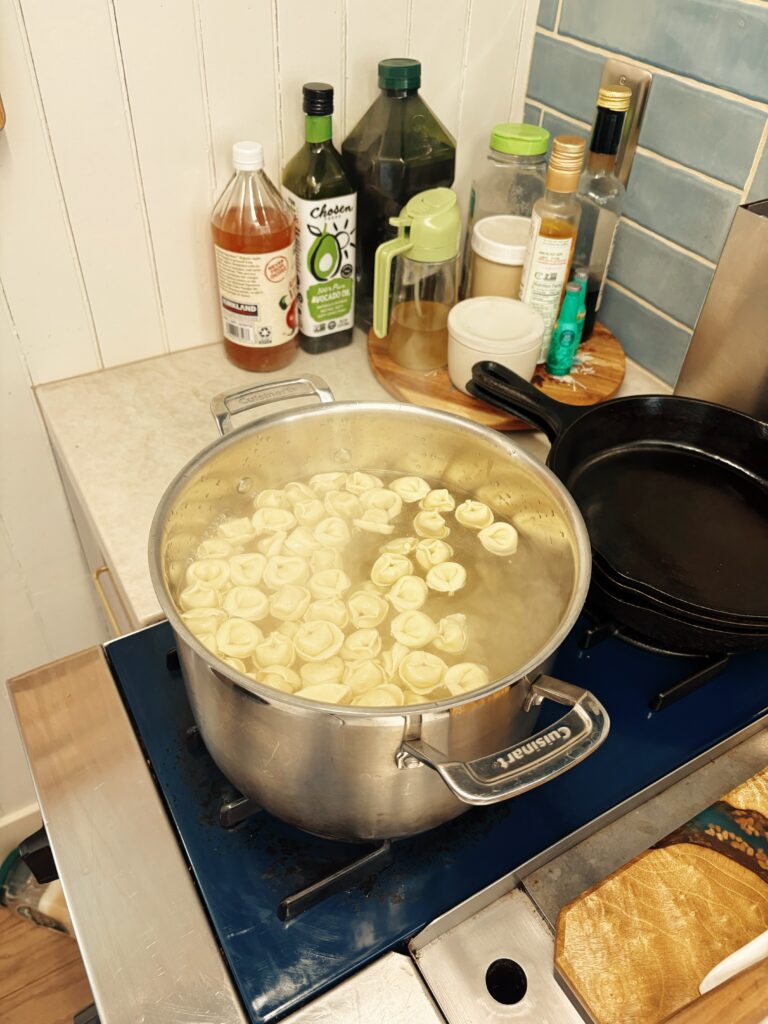
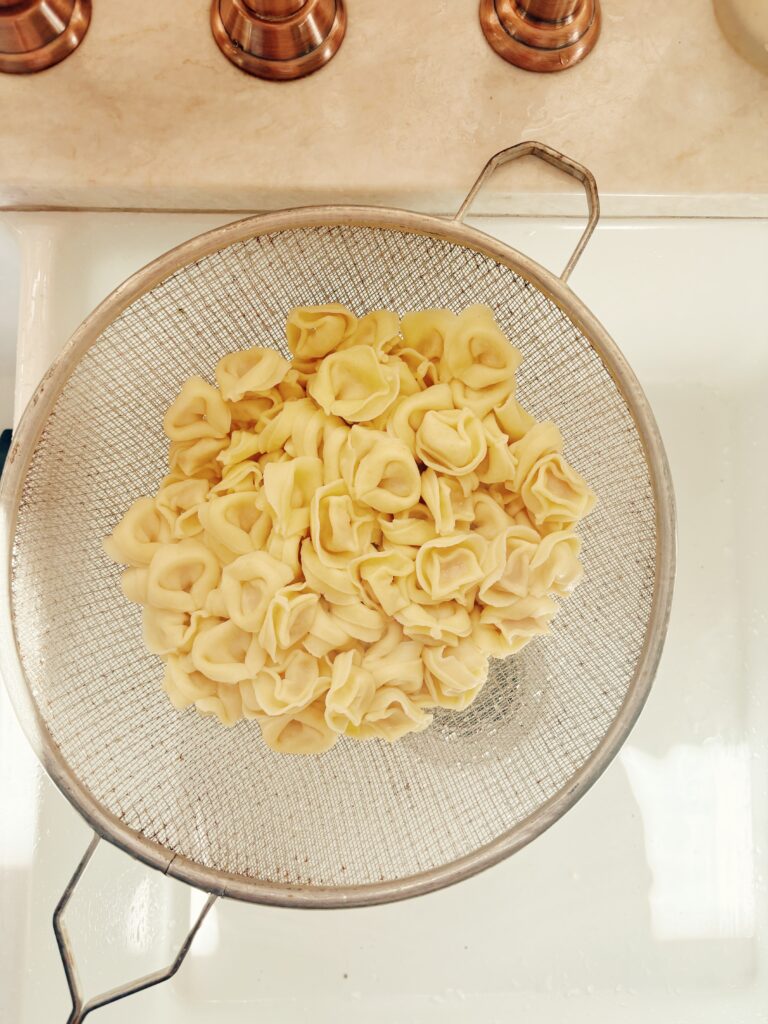
- Follow instructions for cooking Tortellini, and cook al dente. Drain and set aside.
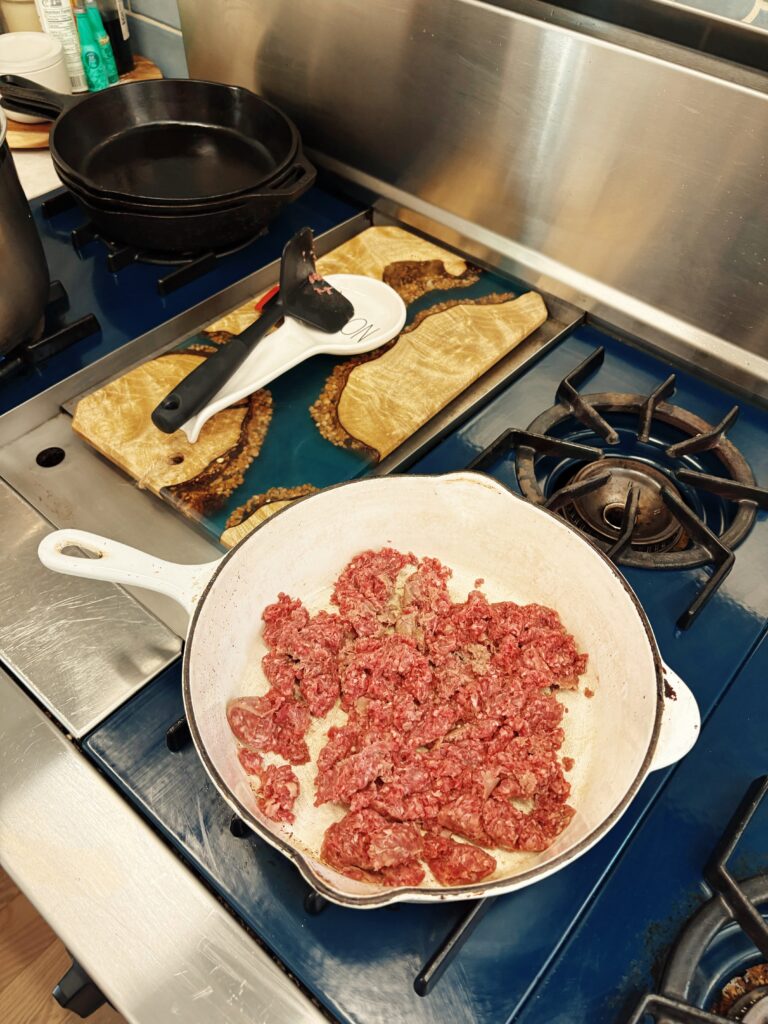
- Preheat a large skillet. Cook ground meat until almost fully browned.
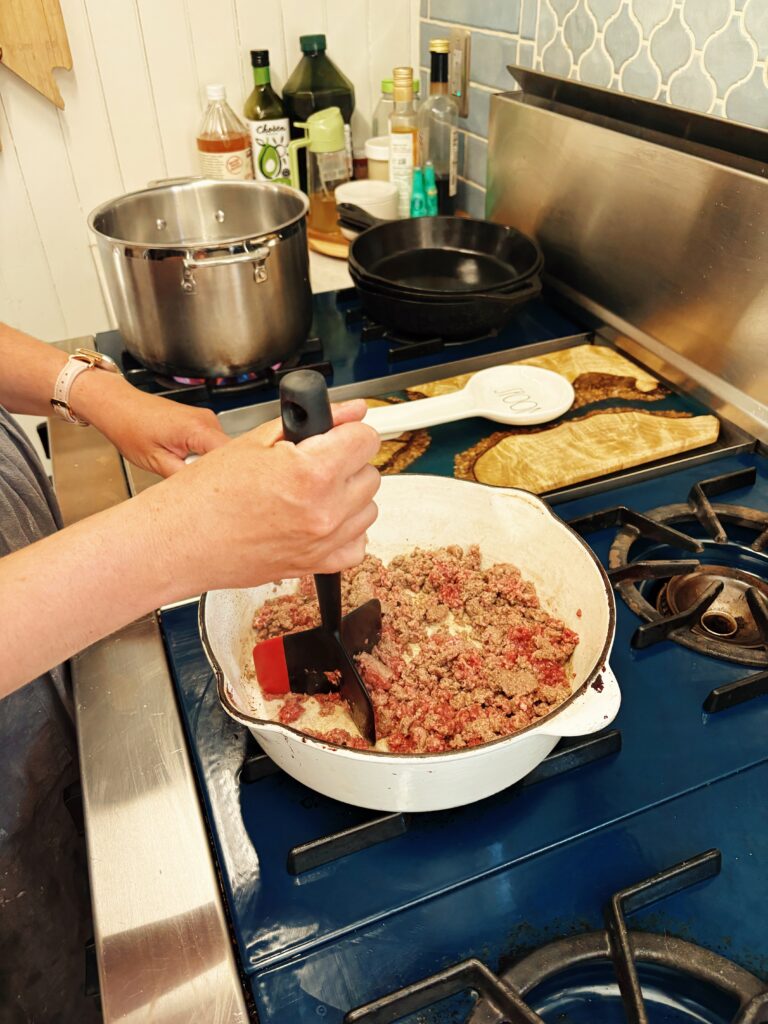
- Add in diced onion and spinach to ground meat skillet and cover. Cook until meat is fully browned, onions are translucent, and spinach is wilted.
- Add pasta sauce, organ complex, and cream cheese into ground meat skillet. Stri well until cream cheese is melted and then turn off burner.
- Add Italian seasoning and garlic powder. Add salt and pepper to taste
- If sauce seems too thick, you can add 1/2 cup to 1 cup of water to thin.
- Grease a 9x13 aluminum pan with oil.
- Add sauce and meat mixture to pan. Gently toss in cooked tortellini into the pan. Fold together gently. Top with shredded Mozarella and Parmesan.
- To Bake: place pan on center rack in oven and bake for 20 minutes or until cheese is melted. If you like a crispier cheese topping, bake on broil for an additional 2-3 minutes.
- To Freeze: Let mixture cool in pan. Once cooled, cover with aluminum foil and put name and best by date on foil. Place in freezer evenly to freeze. Keep frozen for approximately 3 months and use before best by date. To bake, thaw casserole and bake following same instructions above. If using from frozen, please note that cooking time at least doubles. When I put this dish in straight from the freezer, it usually takes between 1-1.5 hours to bake until heated through. You will have to keep an eye on it and use your best judgment.
Nutrition Information:
Yield:
8Serving Size:
350 gAmount Per Serving: Calories: 530Total Fat: 28gSaturated Fat: 14gCholesterol: 105mgSodium: 1094mgCarbohydrates: 43gFiber: 4.7gSugar: 7.4gProtein: 28g
Nutrition information is not always accurate.
If you tried this recipe, please let me know how it turned out for you and leave a comment! Loved it? Rate it 5 stars and share on Pinterest!